Railfan field guide
Train Photography: Settings, Light & Weather
The shutter speeds, focus modes and exposure choices that work trackside — by situation, not by theory — and how to read light and weather before you go.
Reviewed in September 2026.
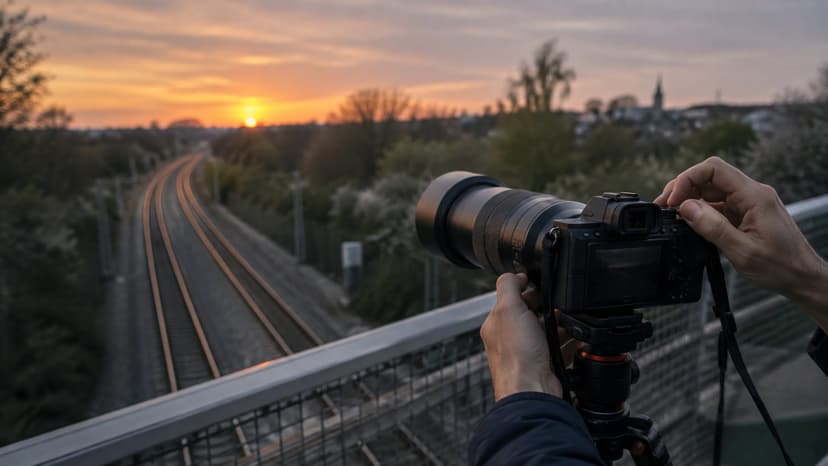
- a practical starting point for a moving train
- 1/500 s
- or faster for a fast train passing broadside
- 1/1000 s
- to start panning for a blurred background
- 1/60 s
The Settings That Work, in One Paragraph
Put the camera in shutter priority with Auto ISO, continuous autofocus and burst mode. A practical starting point is about 1/500 s, rising to 1/1000 s or faster when the movement is more intense — a fast train passing close and broadside. Shoot RAW if your camera offers it. Then stand where the sun is behind you.
That is ninety percent of it. Trains give you one pass and no second take, so the aim of every setting below is the same: a sharp, well-lit frame on the first try. Shutter speed comes first because it is the only setting that cannot be rescued afterwards — noise and exposure can be corrected, motion blur cannot.
Settings by Situation
Forget the exposure triangle for a moment and think about what the train is doing. How fast is it, how close, and is it crossing your frame or coming towards you? Those three things decide the shutter speed; the rest follows. The figures below agree with what the camera makers themselves teach — Nikon calls 1/500 s a good starting point for fairly fast motion and goes above 1/1000 s for faster subjects; Canon gives 1/500 to 1/4000 s to freeze action.
| Situation | Shutter | Aperture | ISO | Why |
|---|---|---|---|---|
| Fast train, broadside, daylight | 1/1000 s or faster | f/5.6 – f/8 | Auto, capped around 1600 | The closer and faster the train crosses your frame, the shorter the shutter needs to be. |
| Train coming towards you (three-quarter view) | About 1/500 s | f/8 | Auto | A train moving towards the camera shifts less across the frame, so 1/500 s is a practical starting point. |
| Slow freight, yard or station move | 1/250 – 1/500 s | f/8 – f/11 | Low | Use the spare light for depth of field: keep the whole train sharp. |
| Panning for a blurred background | 1/30 – 1/125 s | f/11 – f/16 | Lowest | Shutter priority. Expect to keep one frame in ten; that is normal. |
| Dusk, heavy overcast, deep shade | 1/500 s | Widest your lens offers | 1600 – 6400 | Accept the noise. A grainy sharp train beats a clean blurred one. |
| Night, train stopped | 1 – 10 s | f/8 | Lowest | Camera braced on a wall, a railing or a tripod where tripods are allowed. Never flash. |
Try it — shutter speed simulator
Slightly soft — fine on a phone screen, disappointing in a print.
For this train at this angle, start at 1/1000 s or faster.
An illustrative model: it assumes the locomotive fills most of the frame. A train further away, or smaller in the picture, tolerates a slower speed.
These are starting points, not rules. Check your first frame of the day at full magnification: if the locomotive's number is soft, halve the shutter time before the next train arrives.
Focus and Burst: Don’t Lose the Front of the Train
- Continuous autofocus (AF-C on Nikon, Sony and Fujifilm, AI Servo on Canon) keeps refocusing as the train approaches. Single-shot focus locks once and lets the train drive out of the sharp zone.
- A small focus area on the locomotive's nose, not the whole frame — wide-area modes love catenary poles, signals and foreground weeds.
- Pre-focus as a fallback. At night, in fog or through a fence, autofocus hunts. Focus on the rail where the locomotive will be, switch to manual, and fire when it gets there.
- Burst mode buys you a choice of frames as the train passes the ideal point. Start early and keep the shutter down until the nose has left the frame.
- A fast card and a spare battery. A long burst in RAW fills a slow card's buffer at exactly the wrong moment, and cold drains batteries quickly.
The gear guide covers which bodies and lenses track a moving subject well.
Panning: The Blurred-Background Shot
A pan shot reverses the usual logic: a slow shutter, with the camera swung to follow the train, keeps the locomotive sharp and turns the background into streaks of speed.
- Shutter priority, 1/60 s to start — Fujifilm suggests 1/125 s for fast subjects and 1/60 s for slower ones, Nikon starts as low as 1/30 s. Go slower for more blur, faster if nothing is sharp.
- Stand square to the track with the train crossing your view, feet planted, elbows in.
- Pick the train up early, follow it smoothly from the hips, and fire a burst as it passes.
- Keep swinging after the last frame. Stopping the swing is what ruins most pans.
Expect to keep one frame in ten. Practise on road traffic first — cars are free and they come every few seconds.
Reading the Light
Settings make a photograph sharp; light makes it good. One rule outranks the rest: keep the sun behind you, so that the side of the train facing the camera is lit.
- The golden hours — the period around sunrise and sunset, while the sun is within about six degrees of the horizon, roughly an hour at mid-latitudes — give low, warm light that rakes along the side of a train and picks out every rivet and panel line.
- Midday puts the sun overhead: the roof is bright, the running gear is in shadow, and the picture looks flat. A good hour for lunch or for scouting.
- Backlight — sun in front of you — gives silhouettes and glowing exhaust or steam. Wonderful on purpose, a wasted trip by accident.
- Headlights fool the meter into underexposing. If the front of the train comes out dark, add +2/3 to +1 stop of exposure compensation.
Working out which side of a line is lit at a given hour takes two minutes from home: the scouting walkthrough shows how, and spot pages on this site display sunrise, sunset and the golden hours for their location.
Weather: There Is No Bad Day, Only Different Pictures
| Conditions | What you get | What to change |
|---|---|---|
| Clear sun | Strong colour, hard shadows, a right and a wrong side of the track. | Pick your side by the sun. Lowest ISO, fastest shutter of the week. |
| Overcast | Soft, even light. No wrong side of the track, at any hour. | Raise ISO one or two stops. Good for dark locomotives and wooded cuttings. |
| Rain | Wet rails, reflections, spray behind a fast train. | Lens hood on, cloth in a pocket, rain cover or a plastic bag over the body. |
| Snow | A train throwing a plume of powder — among the best pictures of the year. | Add about +1 stop of exposure compensation, or the snow comes out grey. Keep a spare battery in an inside pocket. |
| Fog | Headlights boring through mist; backgrounds disappear. | Autofocus hunts: pre-focus on the rail. Shoot closer than usual. |
| Hot, sunny afternoon | Heat haze over the ballast turns a distant train to jelly. | No setting fixes it. Shorten the distance, or come back in the morning. |
Night and Stations
Stations at night are the easiest place to start: the train is stopped, the platform is lit, and a multi-second exposure at low ISO gives clean, atmospheric results. Brace the camera on a wall or a railing; some station operators — Network Rail among them — ask you to avoid tripods, or to check with staff first.
Never use flash near a railway
A flash in the dark can distract the person driving the train or dispatching it, and station operators ban it — Network Rail states that flash photography is not allowed at any time. Switch it off in the menu so that it cannot fire by accident. The rules that apply on platforms are set out in the safety guide.
Shooting With a Phone
- Burst: hold the shutter button (or slide it, depending on the phone) and choose the sharpest frame afterwards.
- Lock focus and exposure with a long press on the spot where the train will be, before it arrives.
- Skip digital zoom. Use the phone's real lenses — 1×, 2×, 3× — and crop later.
- Brace it against a post or a railing. Phones are light, and light things shake.
- Pro or manual mode, if your phone has one, lets you set 1/1000 s yourself; otherwise shoot in bright light and let the phone choose.
- Video is a phone's strong suit. A steady, level, horizontal clip of a whole train passing is worth more than a dozen soft stills.
Composition: Three Shots Every Railfan Knows
The wedge
Three-quarter front view, locomotive large, train trailing away to a point. The standard record shot: sun behind you, focus on the nose.
The train in its landscape
Step back and let the curve, the bridge or the mountain share the frame. A shorter lens, a higher viewpoint, and the train placed off-centre with room to run into.
The going-away
Turn round once the head end has passed. Rear-end helpers, a caboose on a heritage train, or simply the better light are all reasons to shoot the tail.
Whichever you choose: keep the horizon level, leave space in front of the locomotive, and check the edges of the frame for poles growing out of the cab roof. Unfamiliar term? The railfan glossary explains it.
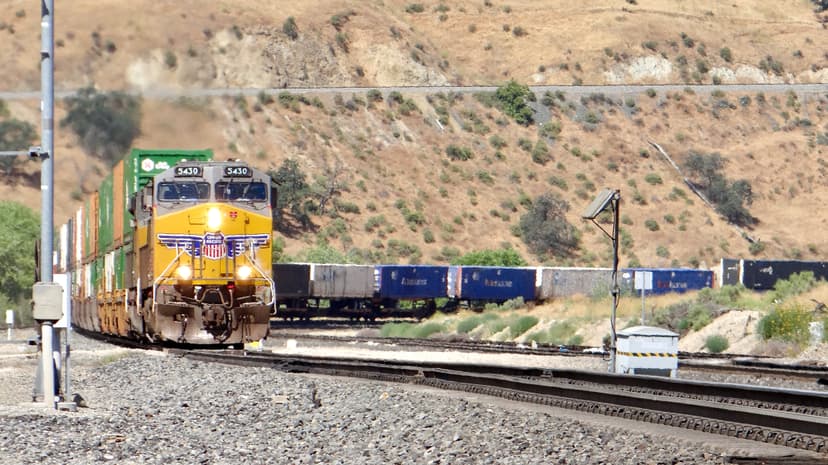
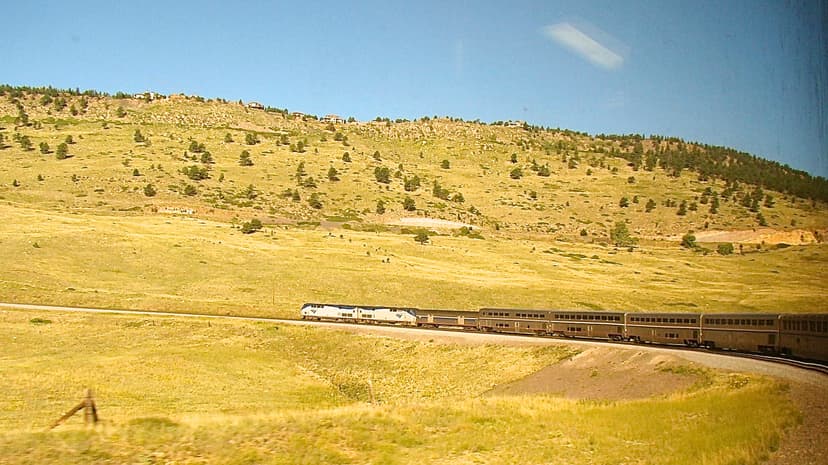
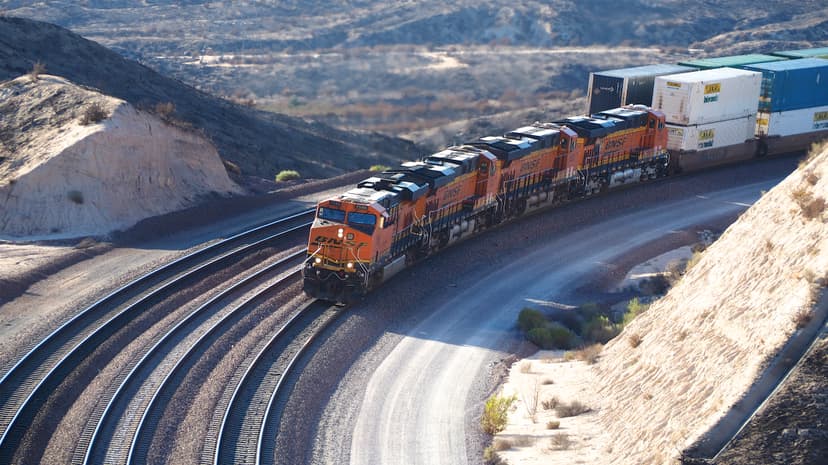
See it on Spotatrain: locations made for photographs
Frequently Asked Questions
What shutter speed do I need to photograph a moving train?
A practical starting point is about 1/500 s, rising to 1/1000 s or faster when the movement is more intense — a fast train passing close and broadside to the camera. A train coming towards you shifts less across the frame and tolerates a slower speed; a train crossing your view at speed needs the fastest.
What is the best camera mode for train photography?
Shutter priority (S or Tv) with Auto ISO is the simplest reliable setup: you choose the shutter speed that freezes the train and the camera handles the rest. Manual mode with Auto ISO gives the same result with control over aperture as well. Aperture priority is risky, because the camera may pick a shutter speed too slow for a moving train.
How do I photograph trains at night?
For a stopped train, brace the camera or use a tripod where they are allowed, set the lowest ISO, close the aperture to around f/8 and expose for several seconds. For a moving train at night, open the aperture fully, raise the ISO as far as your camera tolerates and accept some blur. Never use flash: it can distract train drivers, and station operators such as Network Rail ban it outright.
What time of day is best for photographing trains?
The golden hours around sunrise and sunset — roughly an hour each at mid-latitudes — give low, warm, directional light that models the side of a train. Midday light is flat and harsh. What matters most, though, is that the sun is behind you: check which way the track runs and pick the side that will be lit at the time of your visit.
Is an overcast day bad for train photography?
No. Overcast light is soft and even, with no hard shadows under the train and no wrong side of the track — you can shoot from either side at any hour. Colours are muted and you will need a higher ISO, but for dark locomotives and wooded locations an overcast day is often the better choice.
Can I take good train photos with a phone?
Yes, within limits. Use burst mode so you can pick the sharpest frame, tap to lock focus and exposure on the track where the train will be, avoid digital zoom, and hold the phone steady against a railing or post. In good daylight a modern phone freezes a moving train without trouble; at dusk it struggles.
Official Sources
Every rule and figure in this guide comes from a page we opened and read in September 2026. Laws change: follow the link before you rely on one.
- Nikon — Capturing or freezing motion in photos
- Nikon — 10 tips for better camera panning
- Canon — Photographic tips: shutter speed · July 23, 2024
- Fujifilm — Top tips for panning action
- Sony — Understanding shutter speed · February 16, 2025
- timeanddate.com — Golden hour: when the Sun is within 6 degrees of the horizon
- Network Rail — Guidelines for taking photos at stations (flash, tripods)
- Operation Lifesaver — Photographer and filmmaker safety